In this section, you will look at:
Understanding the Layout of the Project Management Page
The Project Management page displays all the projects that are upcoming, ongoing and completed.
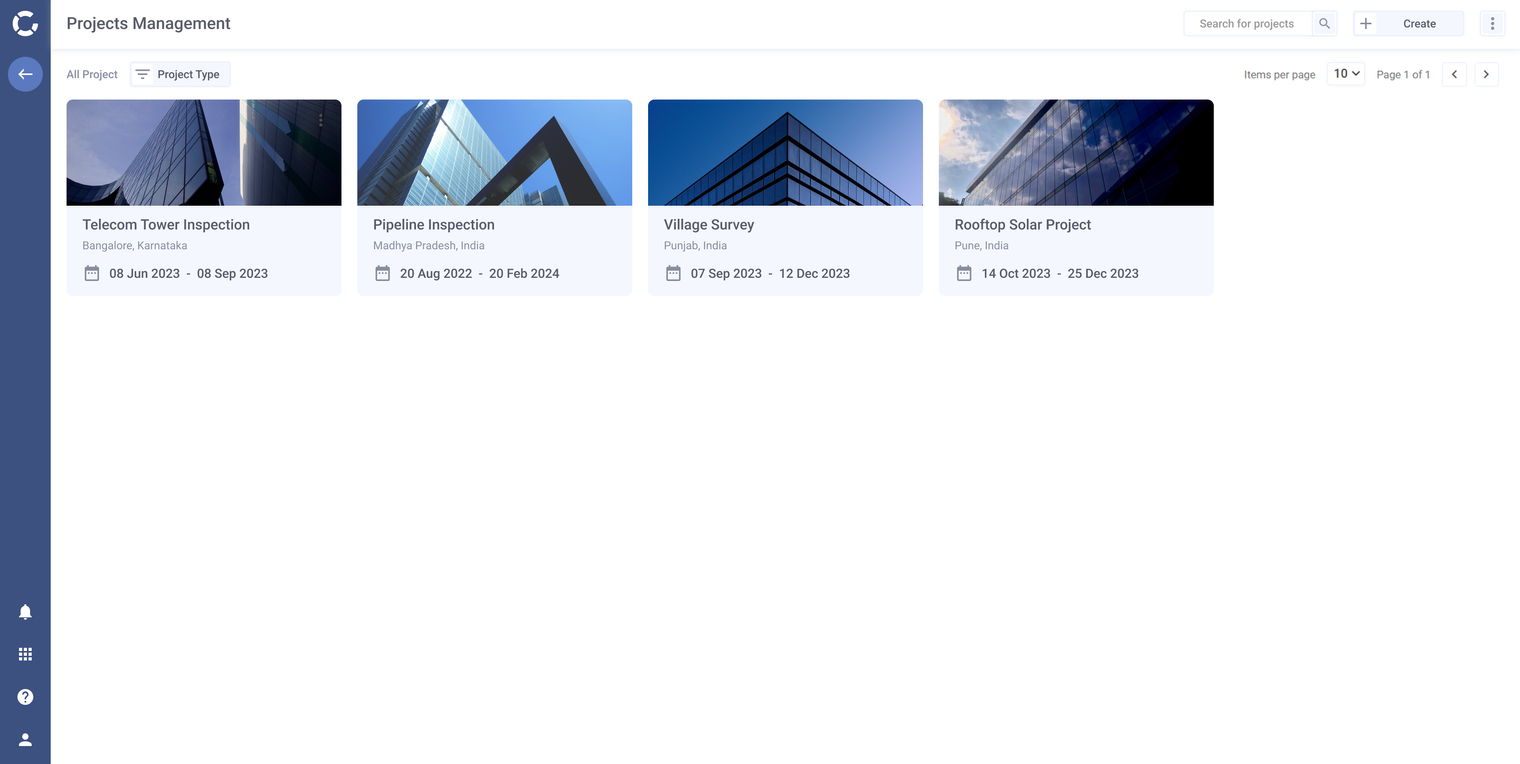
Project Management Page
The following options are available on the project management page:
Option | Description |
|---|---|
All Projects | Displays all the projects that are upcoming, underway and completed. |
Filter by Project Type option | Allows you to filter the project by their status. |
Create | Allows you create a new project. |
Items per page | Allows you to select the number of projects to be displayed on a page. Use the arrows next to the page number to navigate between pages. |
Understanding the Layout of the Project Page
To view a project, on the Project Management page, hover over the project and click View.
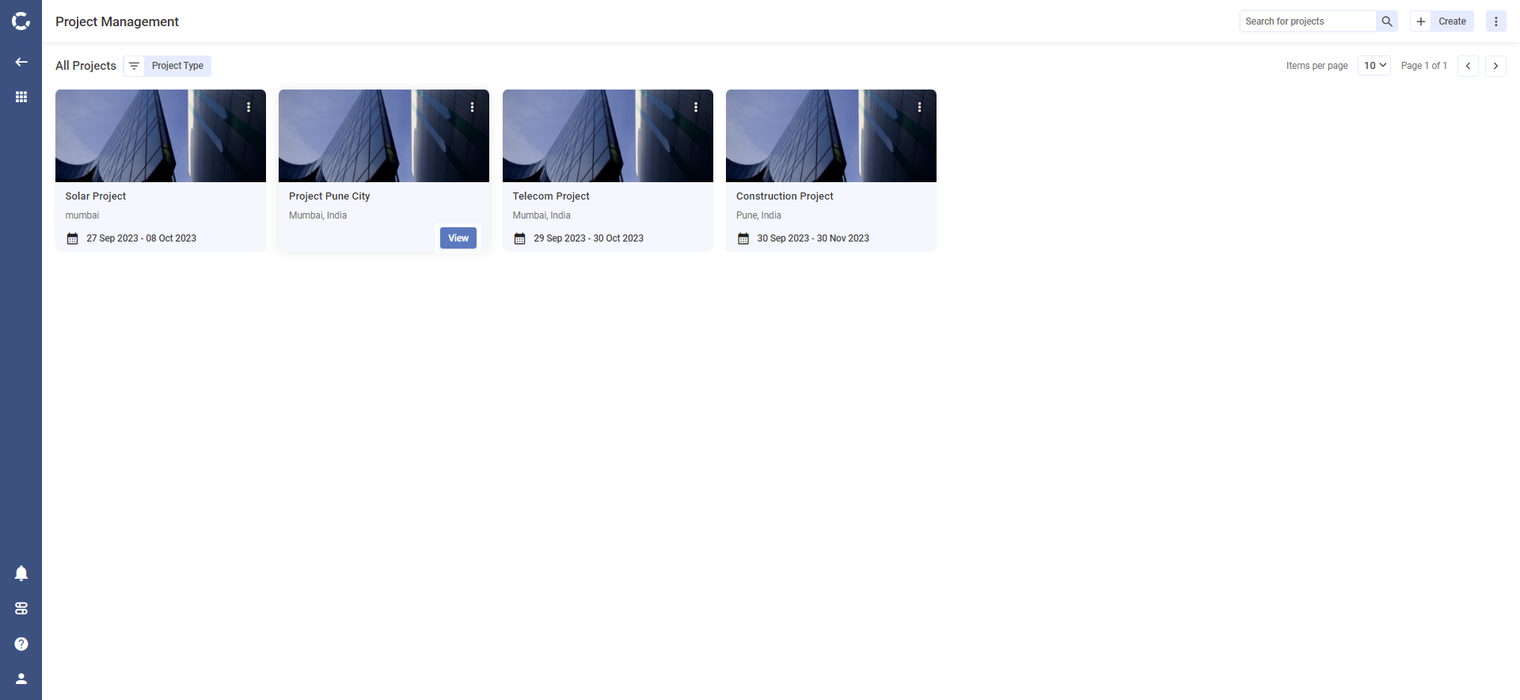
View Project
The project page opens.
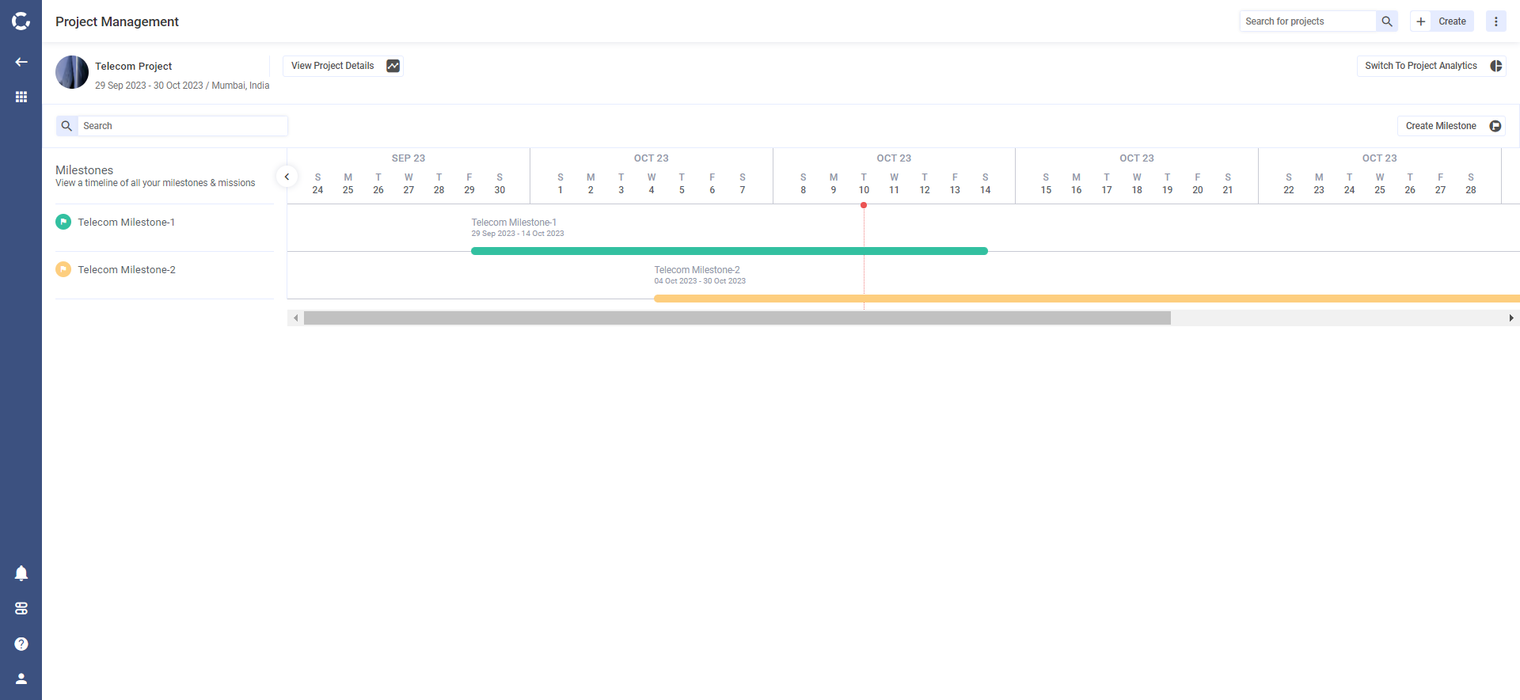
Project Page
The following options are available on this page:
Options | Descriptions |
|---|---|
Project Info | Displays the name, location and the duration of the project. |
View Project Details | Allows you to view additional details about the project. |
Switch to Project Analytics | Allows you to view graphical representation of the missions under the project.
|
Create Milestone | Allows you to create a milestone.
|
Milestones Timeline | Displays all milestones created under a project in the timeline. |
Creating a Project
On the Projects page, on the top right, click Create and then click New Project.
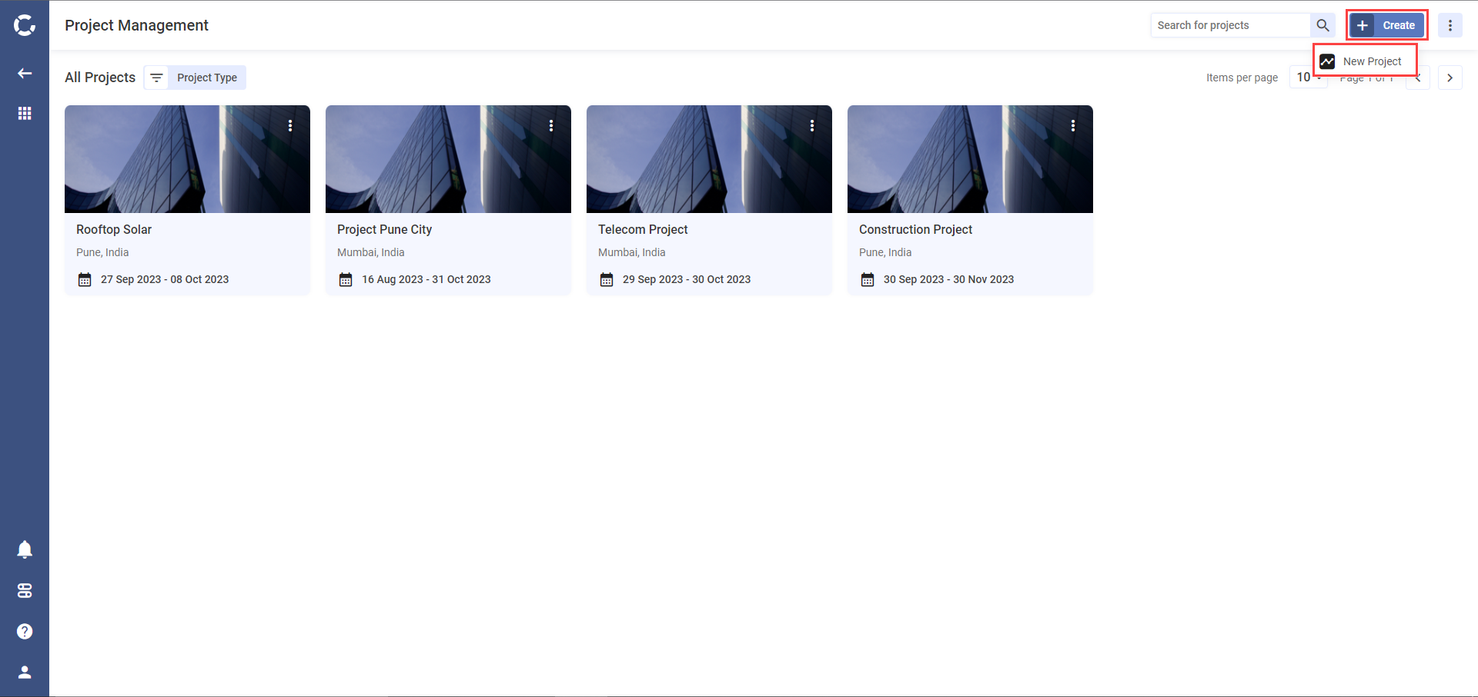
Create New Project
The Create Project page is displayed.
Enter or select the following details:
Field | Description |
|---|---|
Project Name* | Enter a name for the Project.
|
Primary project contact | Enter the phone number of the project manager.
|
Project start date* | Select start date of the project from the dropdown. |
Project end date* | Select end date of the project from the dropdown. |
Primary project contact Email* | Enter the email id of the project manager. |
Project Partners | Select the partners from the dropdown.
|
Organisation Name | This is a read-only field and displays the name of your organization. |
Project Description | Describe the purpose of the project you are creating. |
Primary Project Location* |
|
Click Reserve A Fleet. The Reserve Fleets page opens.
It is not mandatory to assign a fleet to a new project at the time of project creation.
Select the fleet to be assigned to this project and then click Create Project. The newly created project is displayed on the Project Management page.
Modifying a Project
You can edit/update the following details for an existing project:
Project Name
Primary project contact
Primary project contact Email
Project Description
On the Project Management page, under All Projects, click the three dot icon against the project you want to edit/update.
From the options displayed, select Edit. The Edit Project page is displayed.
Update the required details and then click Reserve A Fleet.
Select a different fleet if required and then click Save Project.
You can modify only the projects that are underway or upcoming. Completed projects are displayed on the Project Management page but cannot be edited.
Managing Access for Projects
By default, only the Admin has access to all projects created on Skydeck. A Project Manager will have access to only the projects created by them or the ones they are invited to.
The level of access available to each user is decided by the role assigned to that user.
For more information on the roles and accesses, click here.
On the Project Management page, under All Projects, hover over the project you want to manage access for and click View. The selected project page is displayed.
Click View Project Details.
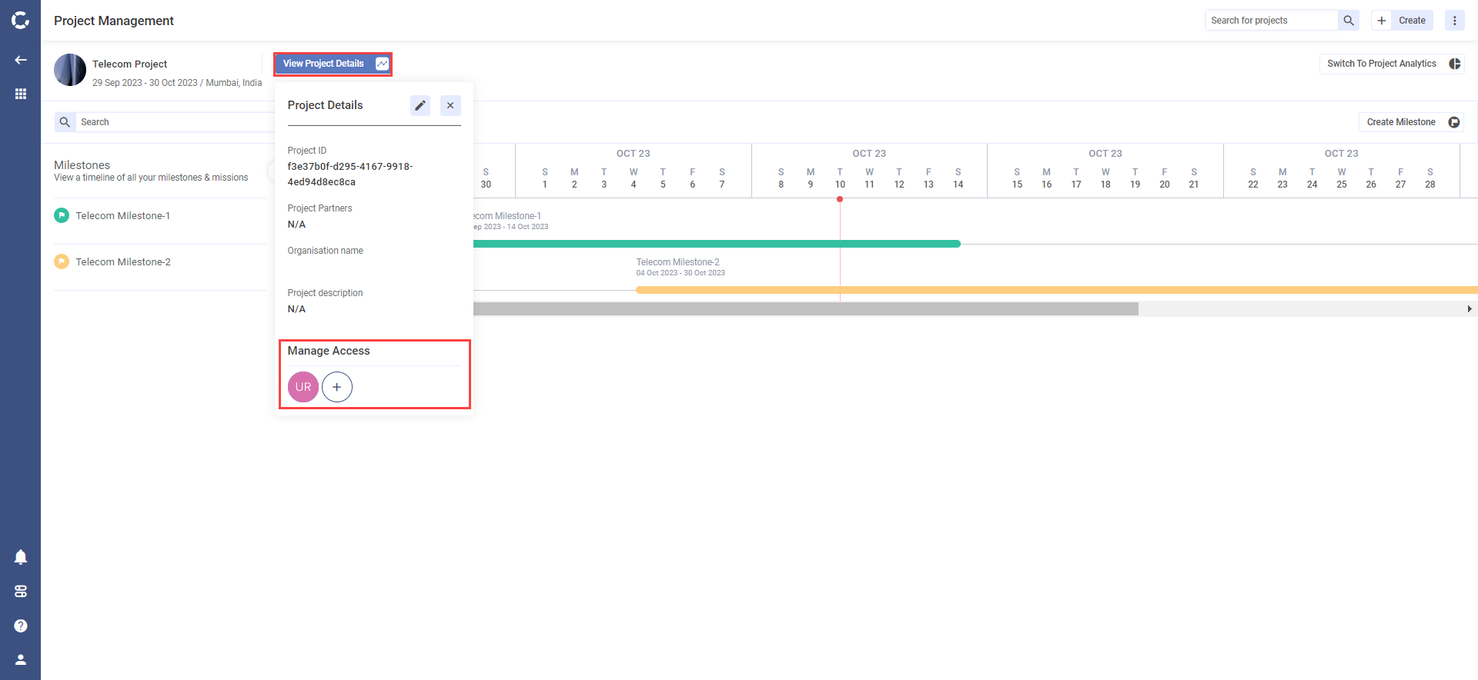
Manage Access - Projects
In the pop-up that is displayed, under Manage Access, click the add icon. The Manage Access dialogue box opens on the screen displaying the users who have access to the project.
To remove access, hover over the username and then click Remove.
To give users access to this project, in the search box under Invite users to Project, enter the name or email address of the user, and select the user from the displayed list. Repeat this process to add multiple users.
When you enter the name or email in the search box, only the users with the project manager role will be displayed in the search results. The search result does not display users with admin role as they have access to all the modules by default.
Click Invite Users. The selected user(s) are given access to:
This project
All the missions and milestones created under this project
Site group assigned to the milestones created under this project
Sites linked to the site group assigned to the milestones under this project
